“The eye is the first circle; the horizon which it forms is the second; and throughout nature this primary figure is repeated without end. ” Ralph Waldo Emerson, “Circles”
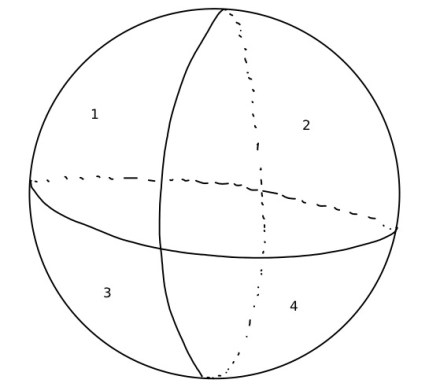
This famous quote from Emerson has been a favorite since I first encountered it. There is no mistake in seeing the wordplay between ‘eye’ and “I.” With a few phrases, he launches us from the point of undifferentiated conscious awareness (the first circle, that which is capable of seeing, the I AM) into a tangible space dimension where the only limit is the perception of the next circle to be seen (the second circle, one horizon that leads to another and answers “Who am I?”) We all end up in this same orb, navigating our place in it, balancing the eye of perception with the identities of the world created in it.
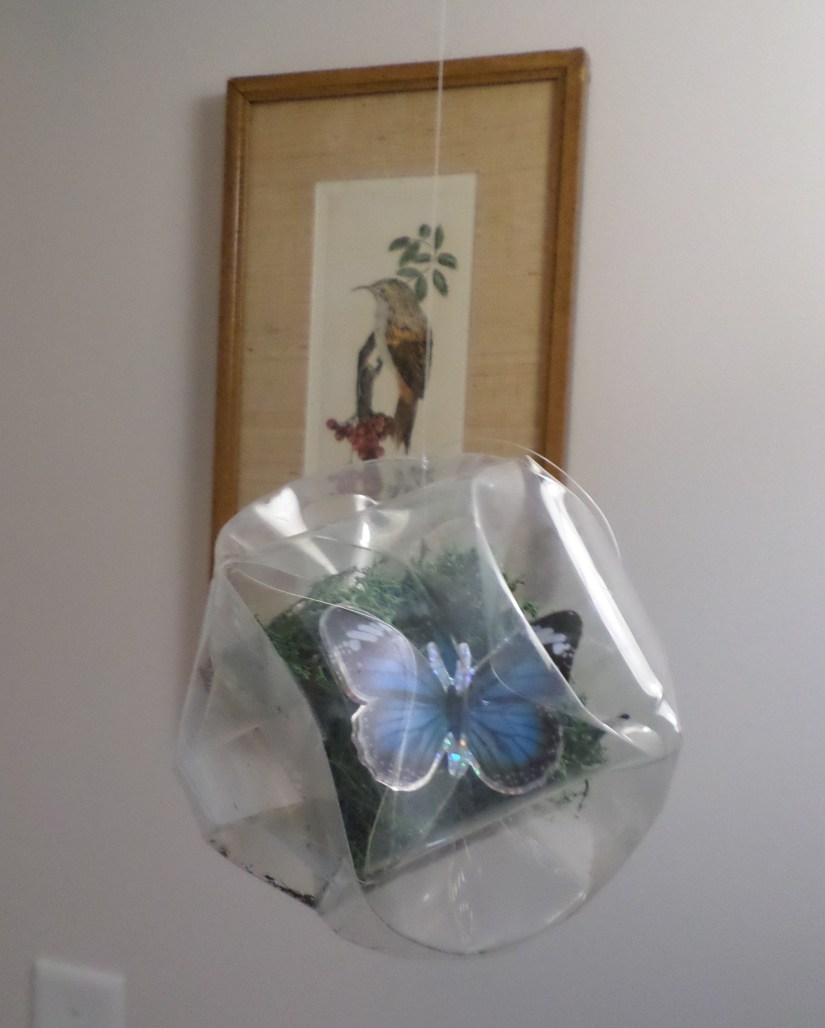
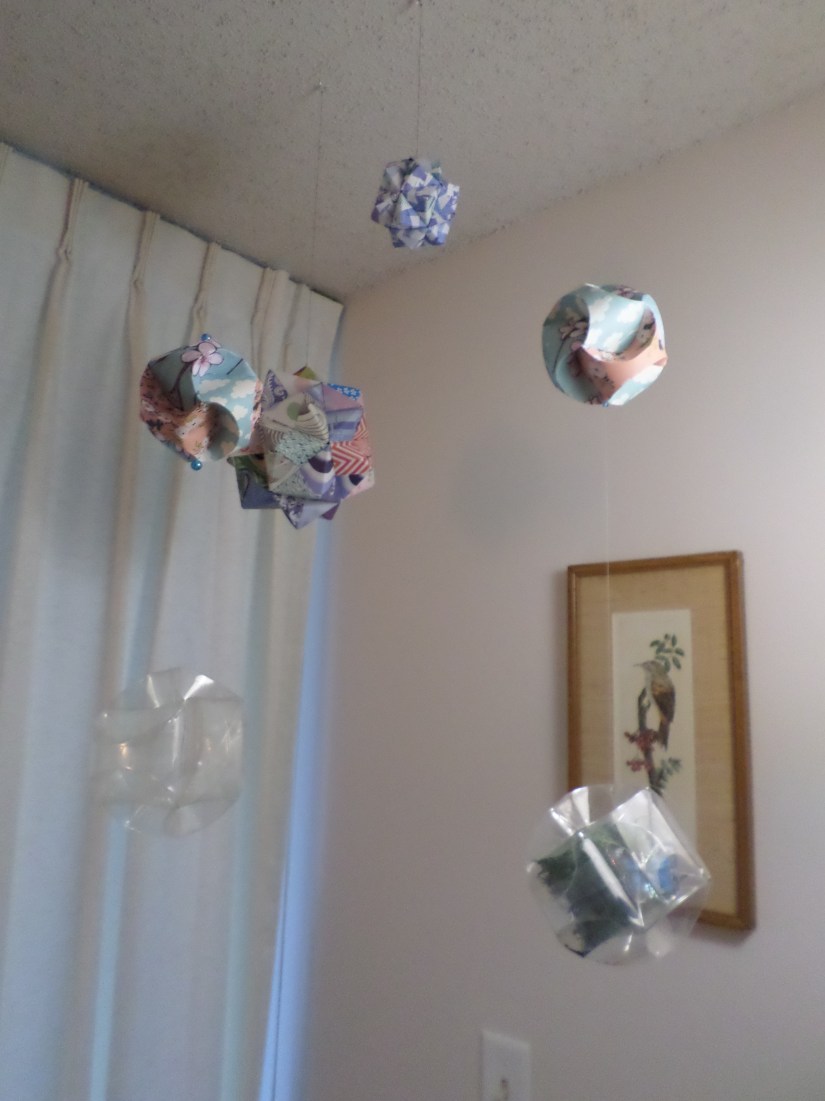
This Interlude began with the simple question “What do I want to see more of in my world?” After considering a long list of predictable divine auspices, global graces and social improvements, I found one I knew I could achieve in a day. I am wanting to see more hanging orbs in my environs. (A glib segue, perhaps. But in the nature of this universe, one circle leads to another.) A friend made me two origami orbs that I have hanging from my ceiling, and I have wanted to expand that universe. So I perused the internet for paper orb tutorials and discovered this beautiful site and project. It is absolutely perfect for the scrapbooking paper I have wanted to use, and in a nod to Emerson’s Transparent Eye, I decided to try this project with clear plastic and make something like a non-glass, lighter-weight hanging terrarium. I found the perfect weight of plastic craft sheet at Hobby Lobby, in with the racks of watercolor papers. Also, I printed the project template at home, then went to the library and enlarged it at 4 different settings so we could make different sizes of orbs.
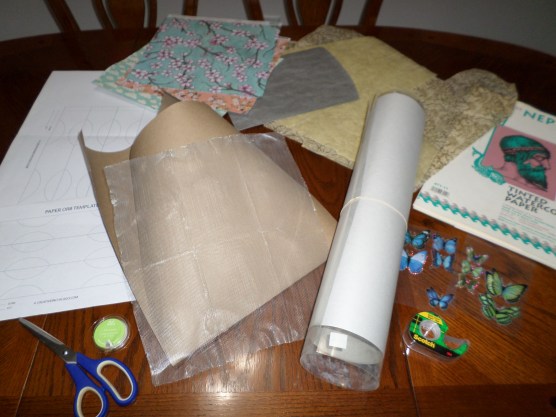
Our resources – we didn’t get around to using the craft or watercolor paper this time. Be sure to have both matte and gloss tape unhand to suit your materials.
Fran is back! She wholeheartedly accepted the invite to paper craft, so we got to work. Our orbs turned out impeccably, despite a false start. If you reference the project link above, you’ll see in the template that you start by cutting a strip of paper (or plastic), and then you need to score/emboss four arcs onto it. When we cut our template strips, we cut out the arcs so tracing the score pattern would be easy. However, when Fran realized she’d cut out the arcs as well as the paper strips, I suddenly looked at what I was doing only to discover that I was in the middle of doing the same thing on my plastic strips. So we began again, with the mantra “OM PADME ONLY CUT OUT STRIPS HOM.”


Our misstep above, from tracing the whole template onto our materials. Also, I used a thin Sharpie to trace onto my plastic, but it does not wipe off. I was careful to trim those dark lines when I cut my strips, and I also did not draw the arced areas onto the plastic on my second attempt.
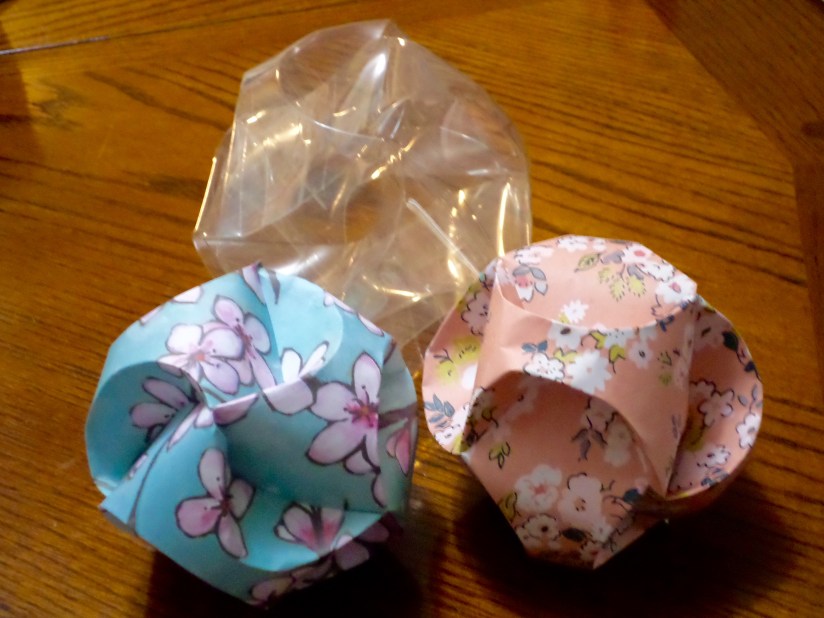
Unfortunately, most of my photos from this turned out blurry, but this one sums up our success fairly well. Fran said the scrapbooking paper was just the right weight for this project. I enjoyed using the plastic as well, although there was one more misstep involved. I got my three strips of plastic looped and interlaced, only to realize there was no good access point for putting something into the middle space of the orb. In making the second clear orb, I found you need to put your inner items in when just two of the loops are laced, then you carefully add the third strip. I had to use tweezers through a narrow gap between sections to tweak things before I compressed the scored sections to complete the orb shape. More practice will definitely benefit the quality of the inner scene I create in the orb.
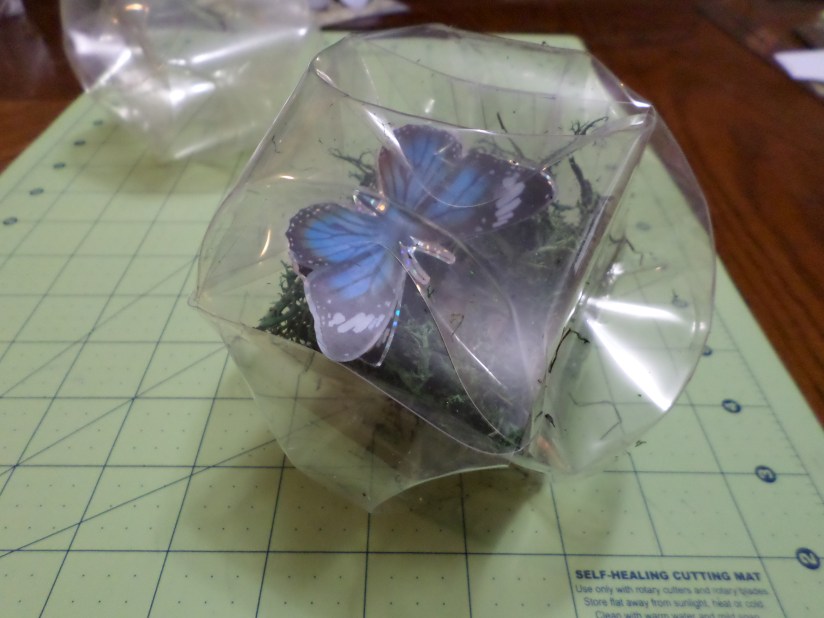
And, I tried the wire mesh – to no success. It was too fluid and kept pulling out of shape when I needed to shift it around. If I ever encounter a better-suited mesh, I will try again.
When the weather gets nicer, I plan to spray paint my first clear orb a metallic finish.