
Supplies:
- Thick craft-foam sheet, about 9″ X 12″, one-quarter inch thick
- Clear hard plastic sheet
- Sharpie Markers (or markers that work well on plastic sheet)
- Double-Stick Tape
- Rotary Cutter (prefered) or sharp scissors
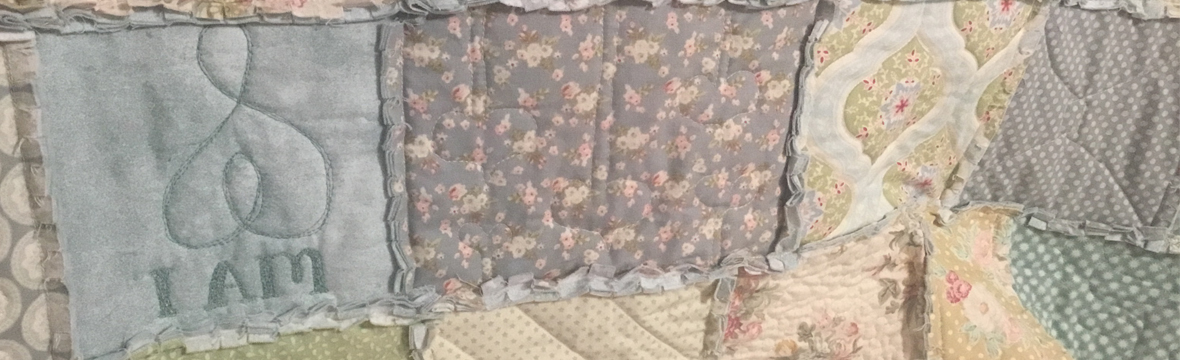
The construction of this project is relatively easy. It is deciding what your layers will show that will take the most attention. I chose to stick with primary colors and simple shapes so the layering of color would create more depth. And my drawn “memory story” I kept simple and symbolic of how I feel about the natural distancing of memories.
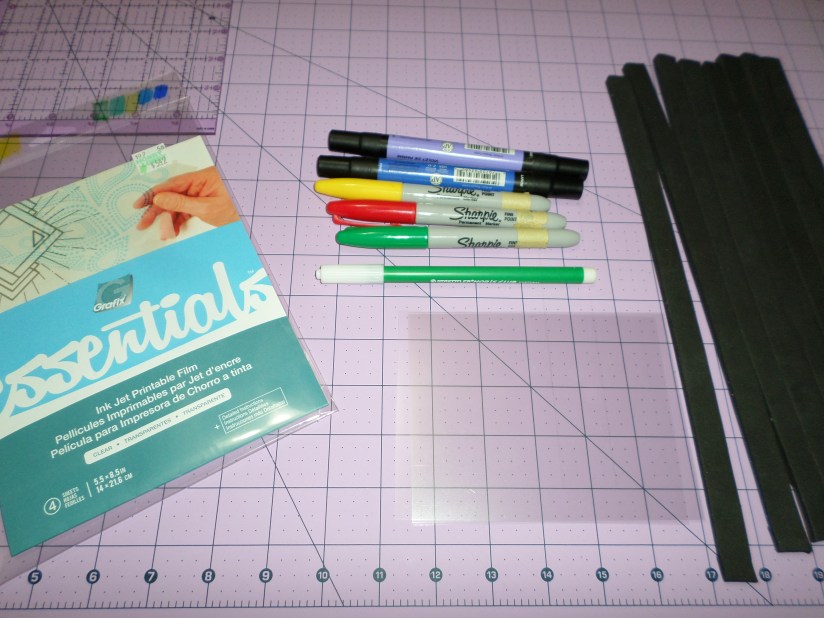
I found a pack of ink jet printable film, by Grafix, of four 5.5″ X8.5″ sheets. I cut two of the sheets in half, which made a nice manageable size for drawing as well as being suspended in the basic foam framework. Next I cut 1/2 inch wide strips from the foam sheet (the width of my double-stick tape). I used a rotary cutter and clear quilting ruler as my straight-edge, along with my quilting cutting mat, and it worked well in making nice even edges.
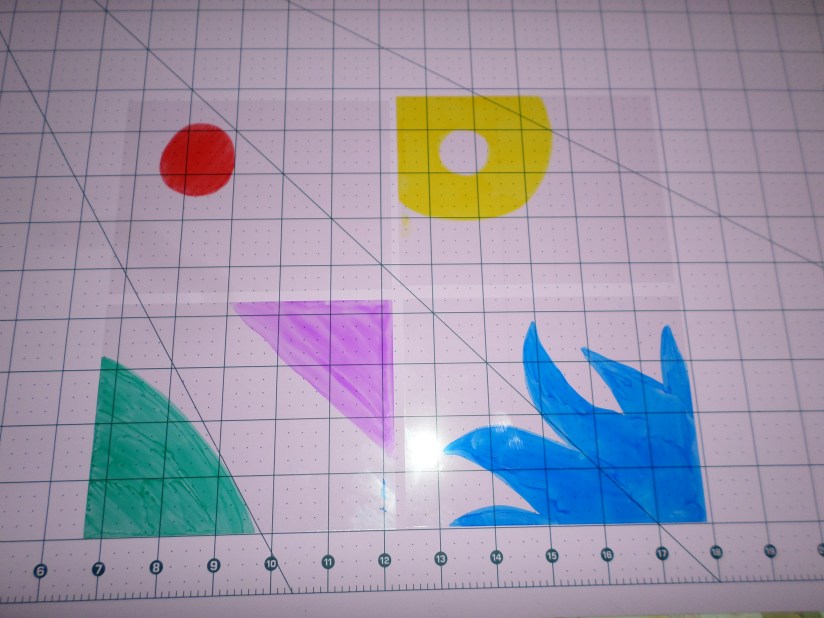
Using one or two colors per sheet, I laid down my shapes and made sure they would overlap when all sheets were aligned. A note – The marker smears easily and takes a few minutes to dry. When I would overlay my 2nd, 3rd or 4th sheet onto the previous, I accidentally got color splotches where I didn’t want any. And the Sharpie color does not come off easily or entirely, so be aware as you marker the layers.
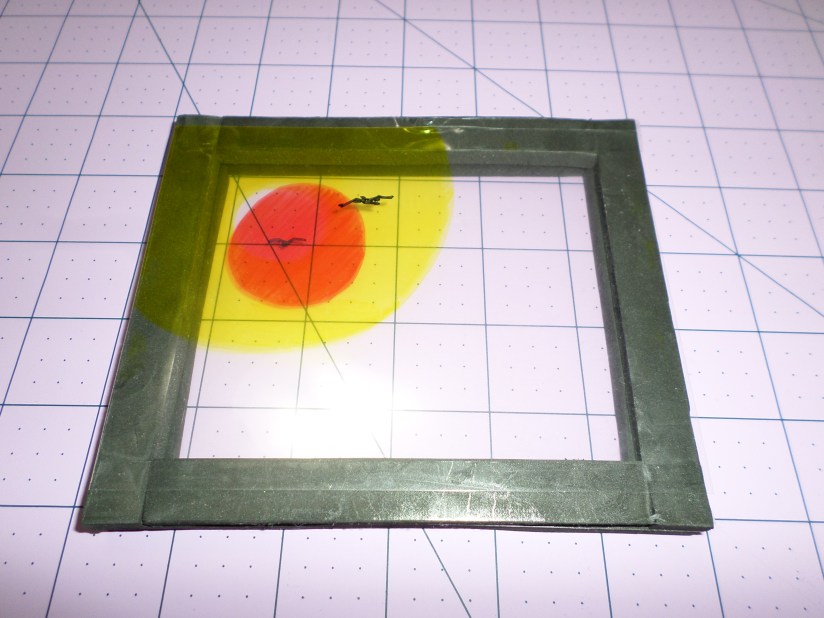
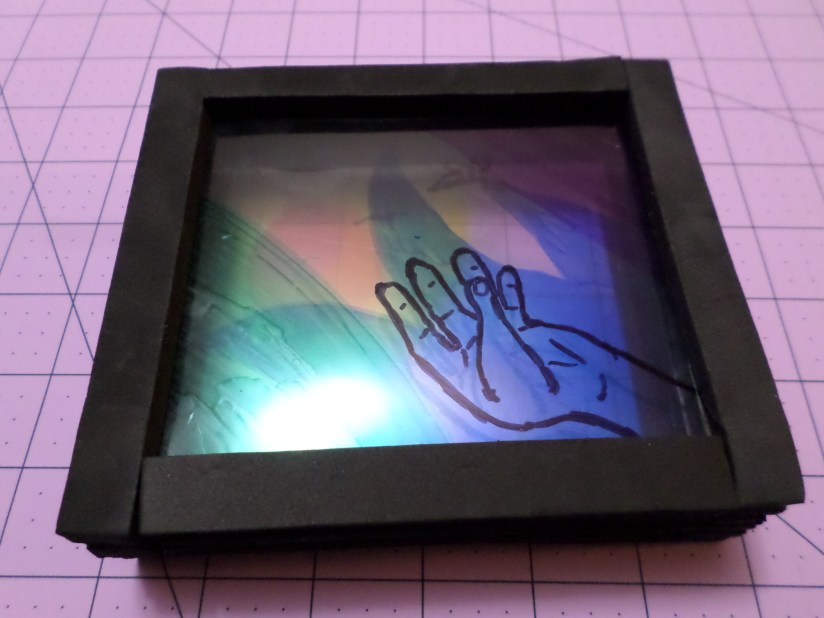
With all layers dry, I went back and added my drawn elements to each sheet. I used black marker for this, and it also requires a bit of drying time. Here is the first layer:
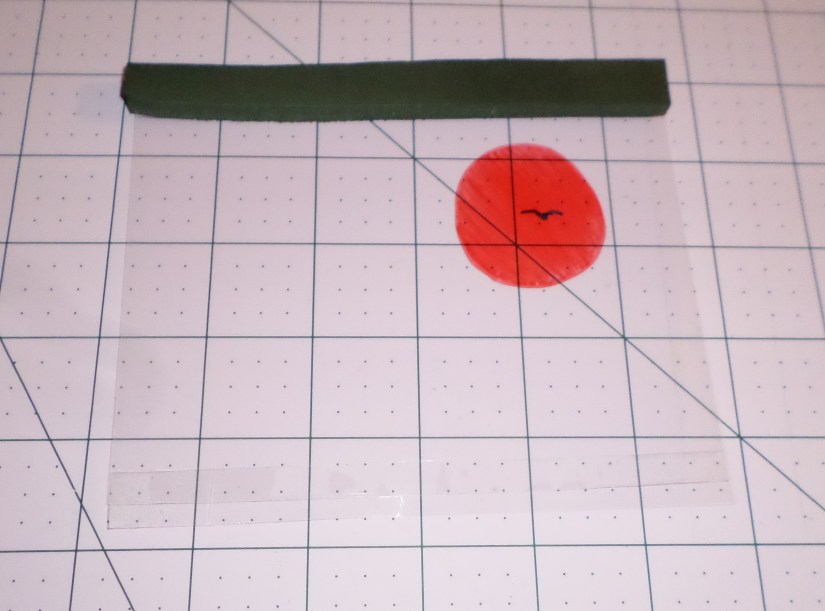
It is a little hard to see in the above photo, but I laid down the top and bottom lengths of tape along the back side of the plastic sheet, with the tape only halfway on the plastic. Then I aligned the foam strip (same width as the plastic) along the tape, so half of the strip of tape sticks to the foam, half to the plastic. For the left and right sides, cut your foam strip so it fits between the top and bottom strips. Lay your tape perfectly centered on the foam then stick it to the plastic, inside and along the edge of the plastic. The sides will be covering slightly more of the plastic than the top and bottom. This completes the frame on the backside of the Sun Catcher, so flip the piece over to its correct side.
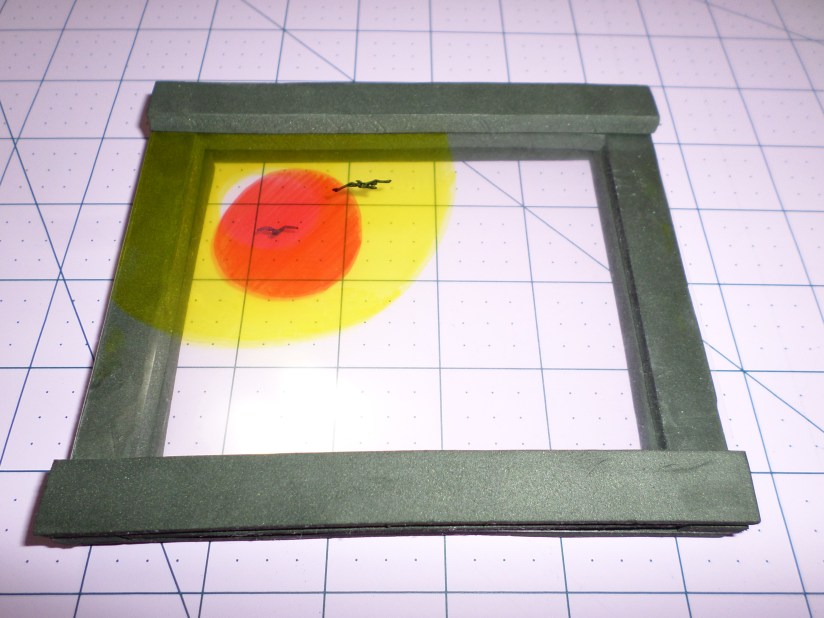
When you apply the next round of foam framing, cut the side strips to go from corner to corner (the height of the plastic), and the top and bottom strips to fit in-between. For each layer of foam framing, alternate like this so the corners have a “log cabin” patterning; this will stabilize the corners. Your top and bottom pieces will always have the tape halfway between the foam and the plastic, and the sides will have the tape entirely on the foam strip.
Lay your second layer of foam frame onto the right/front side of your first plastic layer. Now that first plastic layer has foam around its front and back sides. Repeat the taping process that you did for the first plastic layer, placing half the tape strip along the top and bottom of the back side. Then place tape wholly along the sides. Flip the second plastic layer over, center it (the sides should align with the sides of the foam frame, and press it down onto the foam.
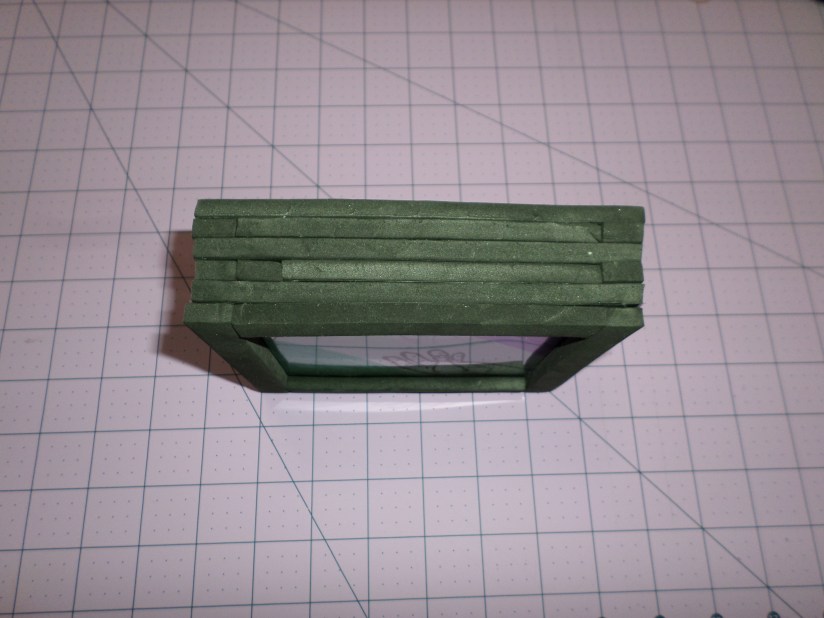
Keep building your layers of foam framing and plastic, until your four layers of plastic and six layers of foam framing are complete.
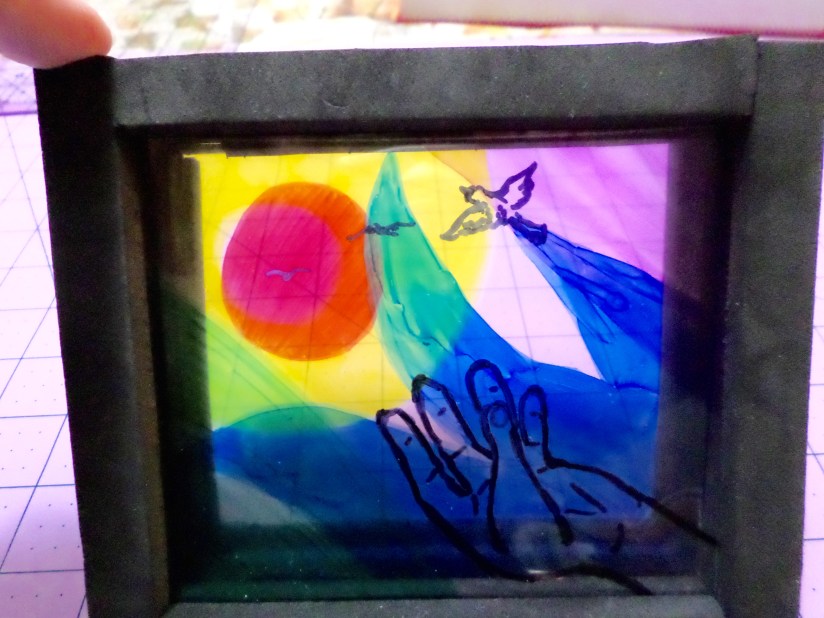
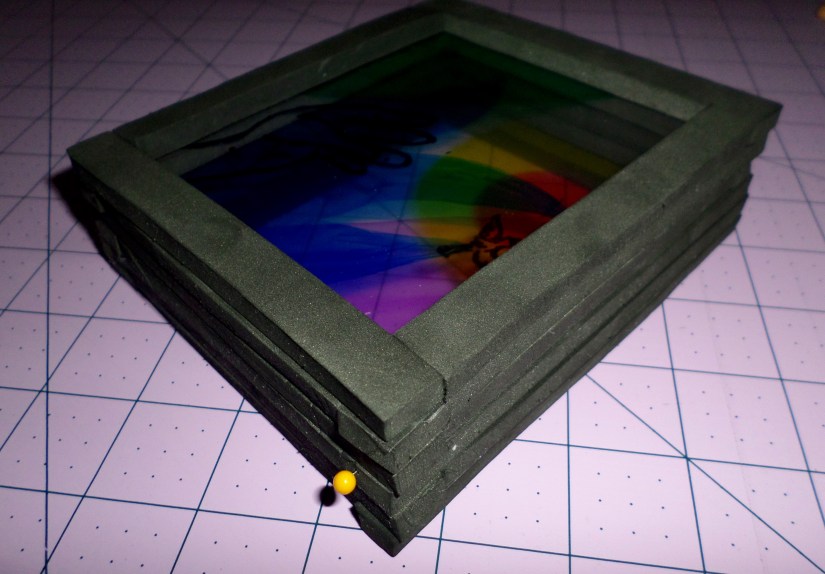
For hanging, I pushed a sewing pin into each side and tied black sewing floss onto the pins.

My camera does not capture that the depth of images shows up clearly and beautifully, and the overlay of colors creates more layers. This is an incredibly lightweight project, which only adds to the idea of how insubstantial our memories can be. For me, memories are like birds in the hand, once held close and totally sensual, but before you know it, they’ve taken flight, and you can only follow along until they are out of sight.
