
Supplies:
- fabric jelly roll
- thread
- no-skid backing the size of your rug
- durable (thicker, like canvas) base fabric, size of rug
- durable fabric (same or different from base fabric) enough to have strips that bind the edges of the rug
- pins
- cotton clothesline
- sewing machine with a zipper foot
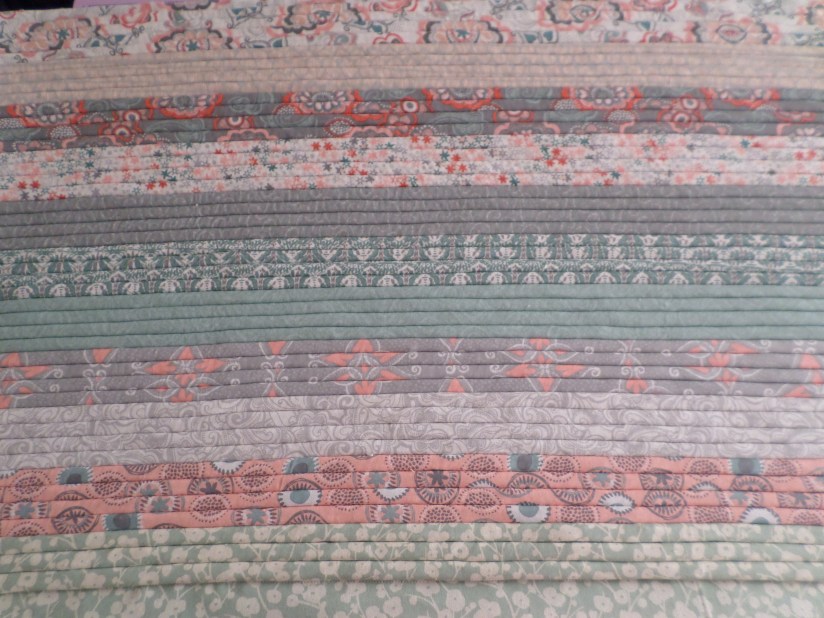
The size of my rug was determined by the size of no-skid backing I happened to have on-hand. The finished size of my example is about 28 inches wide by 18 inches high.
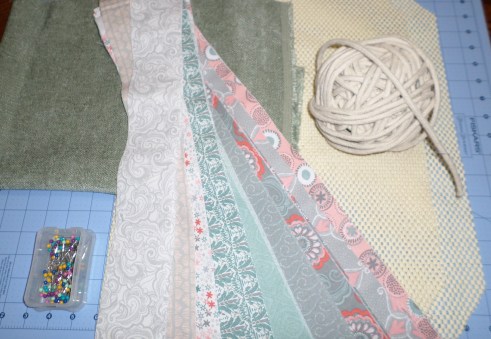
I unrolled and arrayed the fabric strips to decide what order I wanted them in. Then I cut lengths of clothesline that were slightly longer than the length of rug; 2 lengths of clothesline were used per row that you sew (this equals about 3/8 inch width). So that means 4 lengths of clothesline were used per fabric strip.
AN IMPORTANT NOTE: My photos show that I laid the clothesline short of the edges. PLEASE IGNORE THAT, and let your clothesline extend just past the edges. I originally tried to create a 1/2 inch seam allowance on all sides, and for a variety of reasons, abandoned that idea.
First sew a strip, right side up, along the length edge of the base fabric, with a 1/2 inch seam allowance. Now align two cords of clothesline, side-by-side, between strip and base fabric, pin tightly.


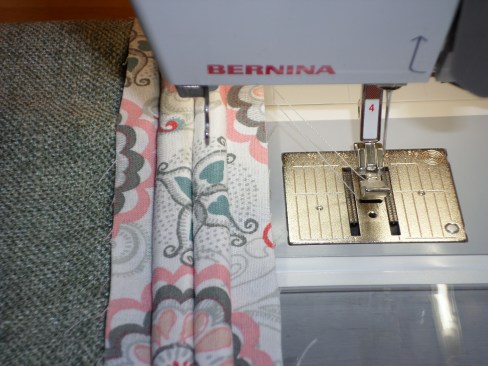
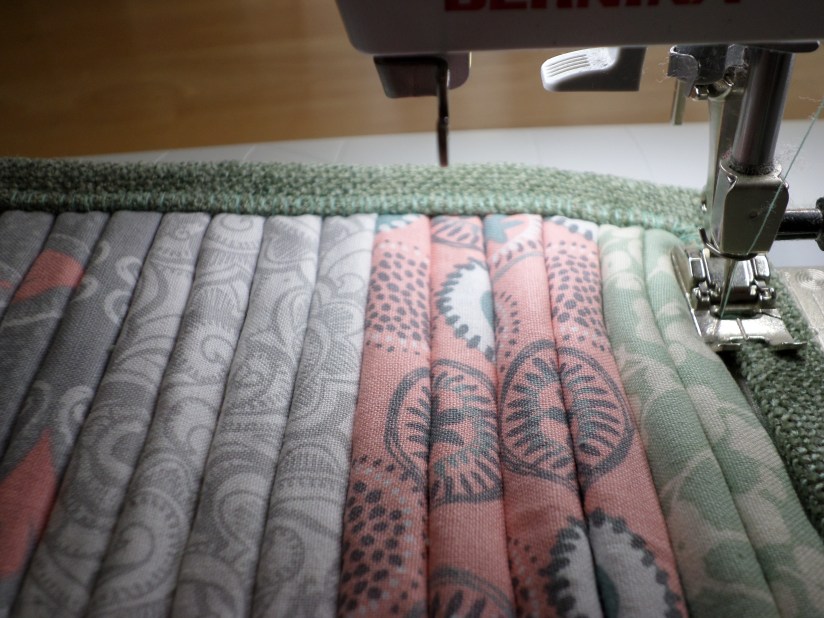
Using a zipper foot, press side of cords against the foot and sew.
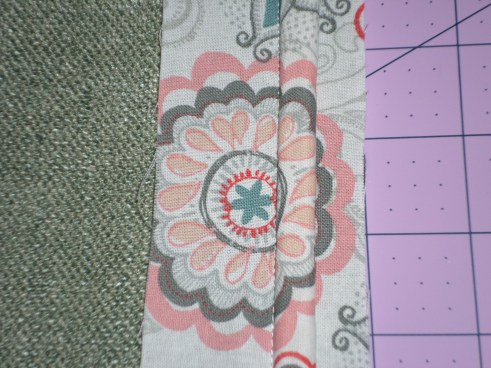
Align the next two cords, pin the fabric tightly over them, then sew. Jelly roll strips are 2.5 inches, so you get two rows of cordings per strip. It is possible to get three rows of cording per strip, but that would leave only slight seam allowances on each side of the fabric strip, and I think the rug would wear out faster.
Lay the next strip of fabric, face down, so that you have a 1/2 inch seam allowance from the row you just sewed. Attach to the base fabric – you are basically sewing over the last row you sewed. I placed a pin at the start of the row, then used my finger to make sure the new strip of fabric stayed straight as I sewed it. It is IMPORTANT that as you sew each strip/row that it butts up against the previous row, you want almost compressed rows.


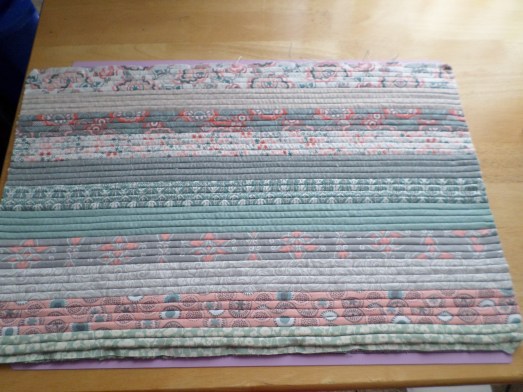
Align the next two cords, pin fabric tightly over them, then sew. Continue doing this until you have filled the width of your rug, being sure there is a 1/2 inch seam allowance remaining on the base fabric.


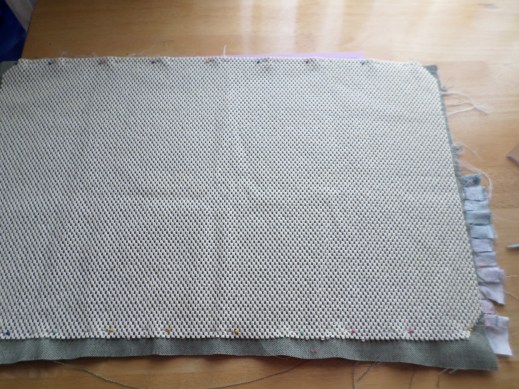
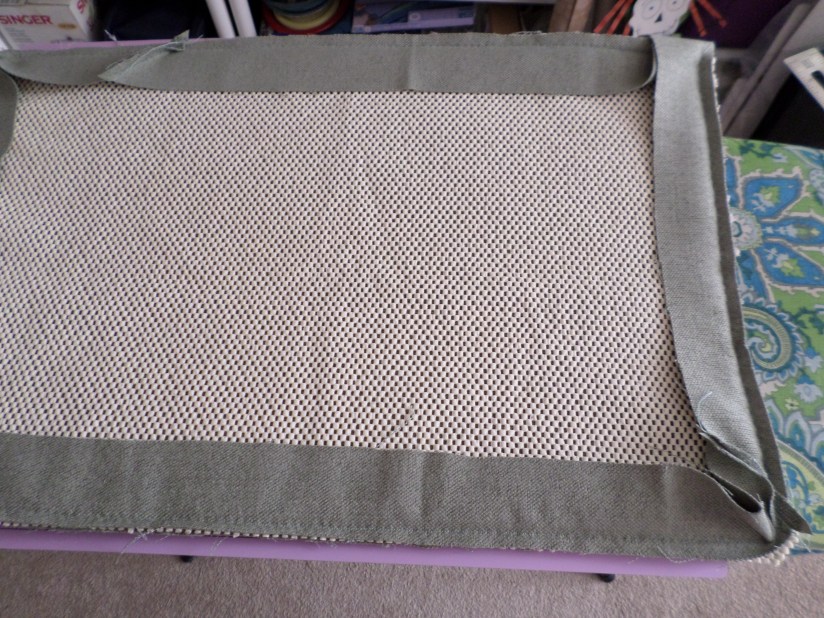
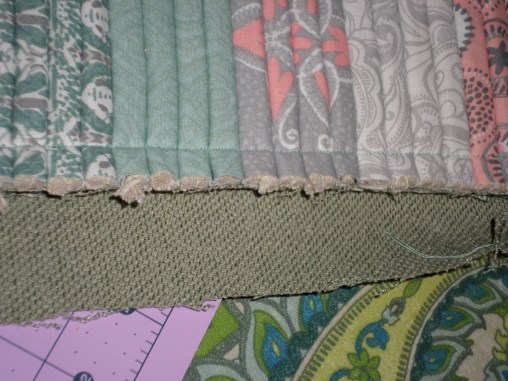
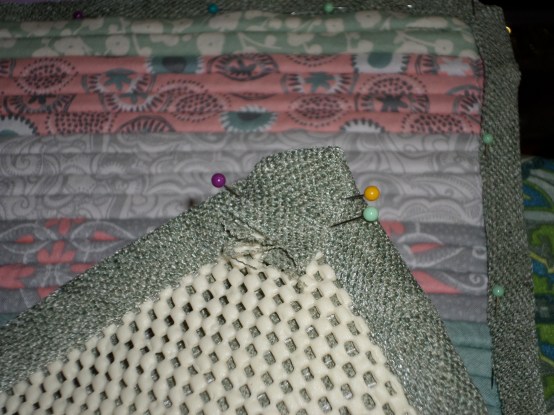
With the bottom of the rug facing up, lay the no-skid layer down, and pin the edges. Trim the cording and fabric along the raw edges so they are even with the base fabric edge and straight.
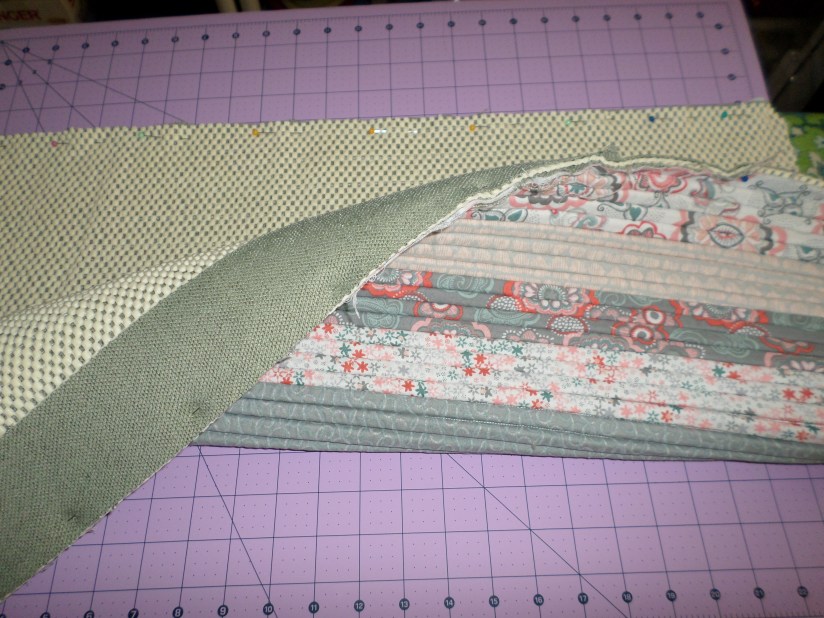
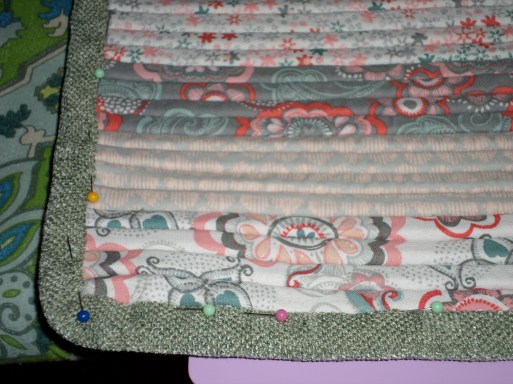
Prepare your binding, a 2.5 inch strip long enough to cover all four edges of the rug. I used the remainder of what I used as my base fabric (a seafoam colored chenille woven fabric) and I had to seam my strip together a few times because the pieces of fabric I had left were short. Pin the binding along a length edge, starting in corner. Work around with pinning the binding so ends meet at original corner.
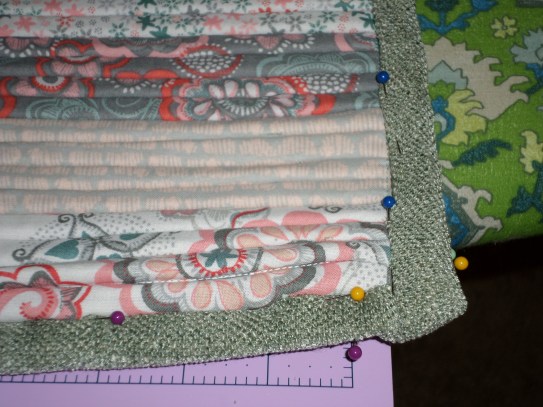
With the rug face up, sew binding on with a 1/2 seam allowance all around. Be sure to use a needle that can handle the thickness of the cording on the short ends – sew slower to ensure this.

Fold the binding over to the front of the rug, turn it under so the top binding is about 1/2 inch wide and pin all around. Miter the corners by using folds and extra pins to hold corner in place.
At the starting/final corner, trim binding even to one edge of the rug, then fold the other end of binding to secure the cut edge, and fold to bottom of rug. Sew all around (I used a blanket stitch), again, going a little slower as you sew through the thicker cut-cording ends of the rug. Securely machine sew this starting/final corner, and then tamp down any missed edges with hand sewing for extra security.
Tie off and secure and final threads, and then you’re done! Because the space between each row forms a little ditch, I recommend using this rug in the bathroom or kitchen, since dirt from shoes will easily get trapped in those ditches.


Beautiful, Dawn! Fran
LikeLike